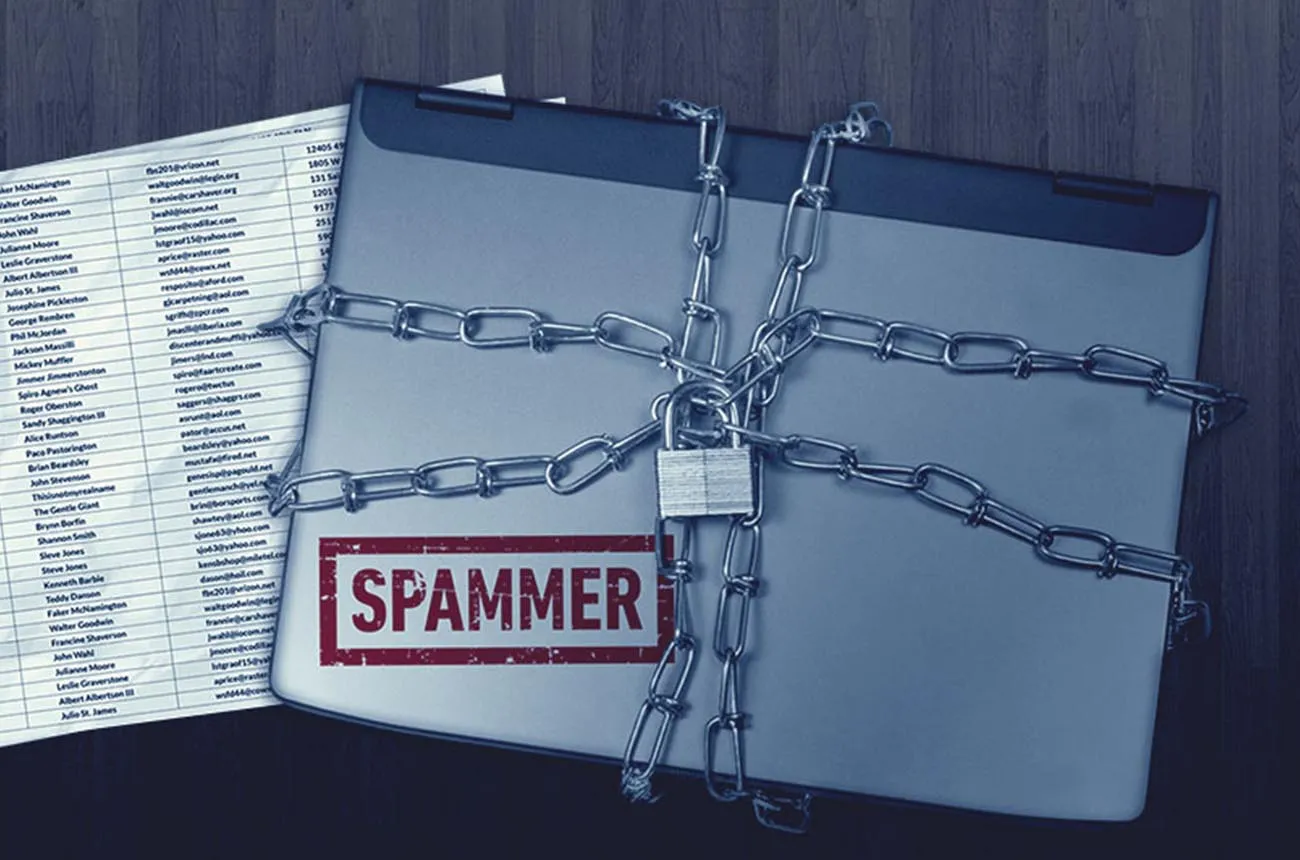
You just found out that your IP address is now on a blacklist. The ominous email you received mentioned a low sender reputation. Panic sets in, and you don’t know exactly what it means, but you know it isn’t good. To make matters worse, your boss freaked out when he heard the word blacklist. The day is not looking good.
Take a deep breath. It is going to be OK. You can fix this. The FBI isn’t on its way to your house and your website isn’t going to be banned. What happened is that your website was put on a list of sites suspected of sending spam. However, you were likely put on the list by mistake because of high bounce rates experienced in previous email campaigns. Since being on a blacklist causes your sent emails to be a lower priority, and even sometimes undeliverable, it’s important to quickly get this fixed. But don’t’ worry – it’s a simple and painless process.
Follow these six steps to get off the blacklist and keep from landing there in the future:
- Call the company that sent you an email about being on a blacklist and ask how to get off. Don’t worry, they won’t be hostile. The person on the other end of the phone spends all day helping people in your exact situation. You are nowhere near the first person in this predicament.
- Make sure your website is up to date with virus protection and anti-malware. Since viruses can cause spam leading to blacklisting, it is important to keep your website, network and computer protected at all times.
- Select a reputable email verification provider that uses real-time verification to remove bad email addresses before hitting send. It’s not enough to just get off the list – you need to fix the problem that landed you there by cleaning your email list. To get removed from the DNSBL, you must prove that you have fixed the problem, and email verification is the simplest way to quickly rid of invalid addresses.
- Use email verification to remove invalid addresses from your database. It won’t take long – just a few minutes. With BriteVerify, all you have to do is drag and drop, and the tool goes to work cleaning your email list.
- Visit the DNSBL sites that you are listed on, check your IP address and then ask how to be removed from their list. Top sites to check include Spamhaus, SURBL, Barracuda Reputation Block List, Invaluement, Spamcop.net and multirbl. This saves you from getting a surprise email from another list next week and lets you fix the problem all at once.
- After you are removed from the blacklist, be sure to use email verification every time you update your list. Running email verification isn’t something that you should do only in a blacklist crisis, but a step you should take every time you send an email campaign. You can then be assured that every email address in your list is valid and won’t damage your sender reputation because of high bounce rates. And it reduces the chances that you will ever have to utter the word blacklist again to your boss.